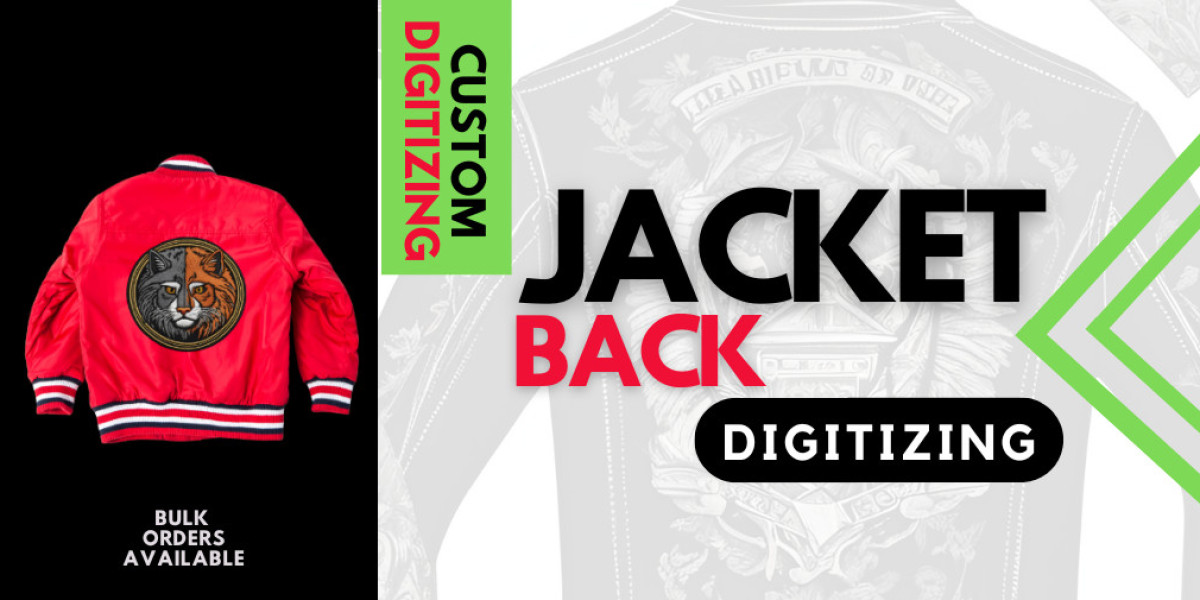
Introduction
Jacket back embroidery is a powerful medium to present logos, artwork, and custom designs. However, perfection can basically be achieved only through expert jacket back digitizing. Following these seven steps ensures that the embroidery is ultimately produced with high quality, durability, and beauty.
1. Start with a High Resolution Image
Clear and sharp designs form the basis for great embroidery. Low resolution will create weak stitch patterns, leading to unclear embroidery. One should always have either a vector or a high-quality image that will determine the precision of the jacket back digitizing design.
2. Choose the Right Type of Stitch
Choosing the right stitch type will give your embroidery digitizing that extra touch of quality and an impeccable finish.
Satin Stitch: Best used for fine detailing and lettering
Fill Stitch: Best for those large areas needing solid coverage
Running Stitch: For outlining and finer details
Proper selection of stitches will bring in smooth embroidery without a thread break in between.
3. Fabric Appropriateness of the Stitch Density
Every fabric has a varying density regarding stitches:
Leather & denim- loose so as not to make stiffness
Cotton & fleece- denser so as to give a longer appearance
Finding the balance in density will give proper embroidery without puckering up or pulling.
4. Use Good Thread and Right Colors
Good quality threads do not fray or fade. Polo shirts embroidery Digitizing well with polyester and rayon threads look bright and endure the test of time. They are also very attractive when contrasting colors are chosen.
5. Design Stitch Path for Efficiency
A well-thought-out stitch path from the digitizing standpoint will ensure a clean, professional finish while minimizing thread jumps and unnecessary trims to limit errors and optimize embroidery efficiency. Proper sequencing of stitch commands promotes smooth stitching in the absence of distortion.
6. Select the Appropriate Backing and Stabilizer
Backings and stabilizers are responsible for supporting the fabric during embroidery so that it retains its shape. Select the appropriate stabilizer based on the fabric type to ensure that it does not shift or wrinkle.
7. Engaging an Expert Embroidery Digitizing Service
For the best results, trust Embroidery Digitizing Services! The professional digitizers will ensure clean stitch paths with minimal thread breaks, guaranteeing precise placement of designs for perfect-looking embroidery.
Perfection in jacket back digitizing is achieved through attention to detail, proper stitch choice, and technical know-how. These seven proven steps guarantee the production of high-quality embroidery, long-lasting in nature, and sure to draw attention on any jacket.